Powered By Blogger

Thursday, July 22, 2010

Brownie Week Recipe #2: SALTED CARAMEL BROWNIES


This is an ooey gooey, super rich and chocolatey, fudgy brownie. The soft salty caramel is the perfect balance to the sweet chocolate.

I adapted the recipe from one I found online - I put in a little more chocolate and added the espresso powder. The small amount of espresso powder doesn't make the brownie taste like coffee, it just makes the chocolate flavor more intense (I learned this tip from Ina Garten/Barefoot Contessa). 

Not the simplest recipe to make because you have to also make a salted caramel filling which can be a little tricky if you don't watch the caramel carefully. Just read the directions very carefully before beginning and don't walk away from the pot of sugar and corn syrup, and it will turn out great! Make extra and save it in the refrigerator or freezer to drizzle on top of chocolate cake or ice cream.

Salted Caramel:

  • 1/2 cup heavy cream
  • 1 teaspoon sea salt
  • 1 cup sugar
  • 2 tablespoons light corn syrup
  • 1 teaspoon Vanilla
  • 1/4 cup sour cream

1. In a small saucepan, combine the cream and the salt.  Simmer over very low heat until the salt is dissolved. set aside.

2. In a medium saucepan combine the sugar and corn syrup carefully. Cook over high heat until it is a medium goldish brown – about 6-7 minutes. 

Don't overcook the caramel - it should appear light golden brown when you take it off because it will continue to cook in that pot even after you remove it from the burner. Remove from heat and let cool 1 minute.

3. Then add  the cream mixture and the vanilla to the sugar mixture. Don't worry it is supposed to bubble up and sizzle a bit. Whisk in the sour cream.  Let the caramel cool to room temperature and set aside. Before using caramel strain out any big lumps.

Brownies:

  • 6 ounces unsweetened chocolate, roughly chopped
  • 1/2 cup unsalted butter
  • 1 tablespoon espresso powder
  • 1 1/2 cups sugar
  • 3 eggs
  • 2 teaspoons vanilla
  • 1 1/4 cups all purpose flour
  • pinch salt
  • 1/4 cup Chocolate Syrup
  • half of the caramel recipe

1. Preheat oven to 325F. 


2. Melt chocolate and butter in small saucepan over low heat until smooth. Remove from heat and stir in espresso powder. Allow to cool for 5 minutes.

3. In a bowl, whisk together sugar, eggs, and vanilla, and mix until well combined. Don't whisk in a lot of air -   we are not trying to make a fluffy brownie.

4. Add flour, salt, chocolate syrup and chocolate mixture and blend well.

5.
Pour half of the brownie batter into a greased 8×8 pan and bake for 18 minutes.
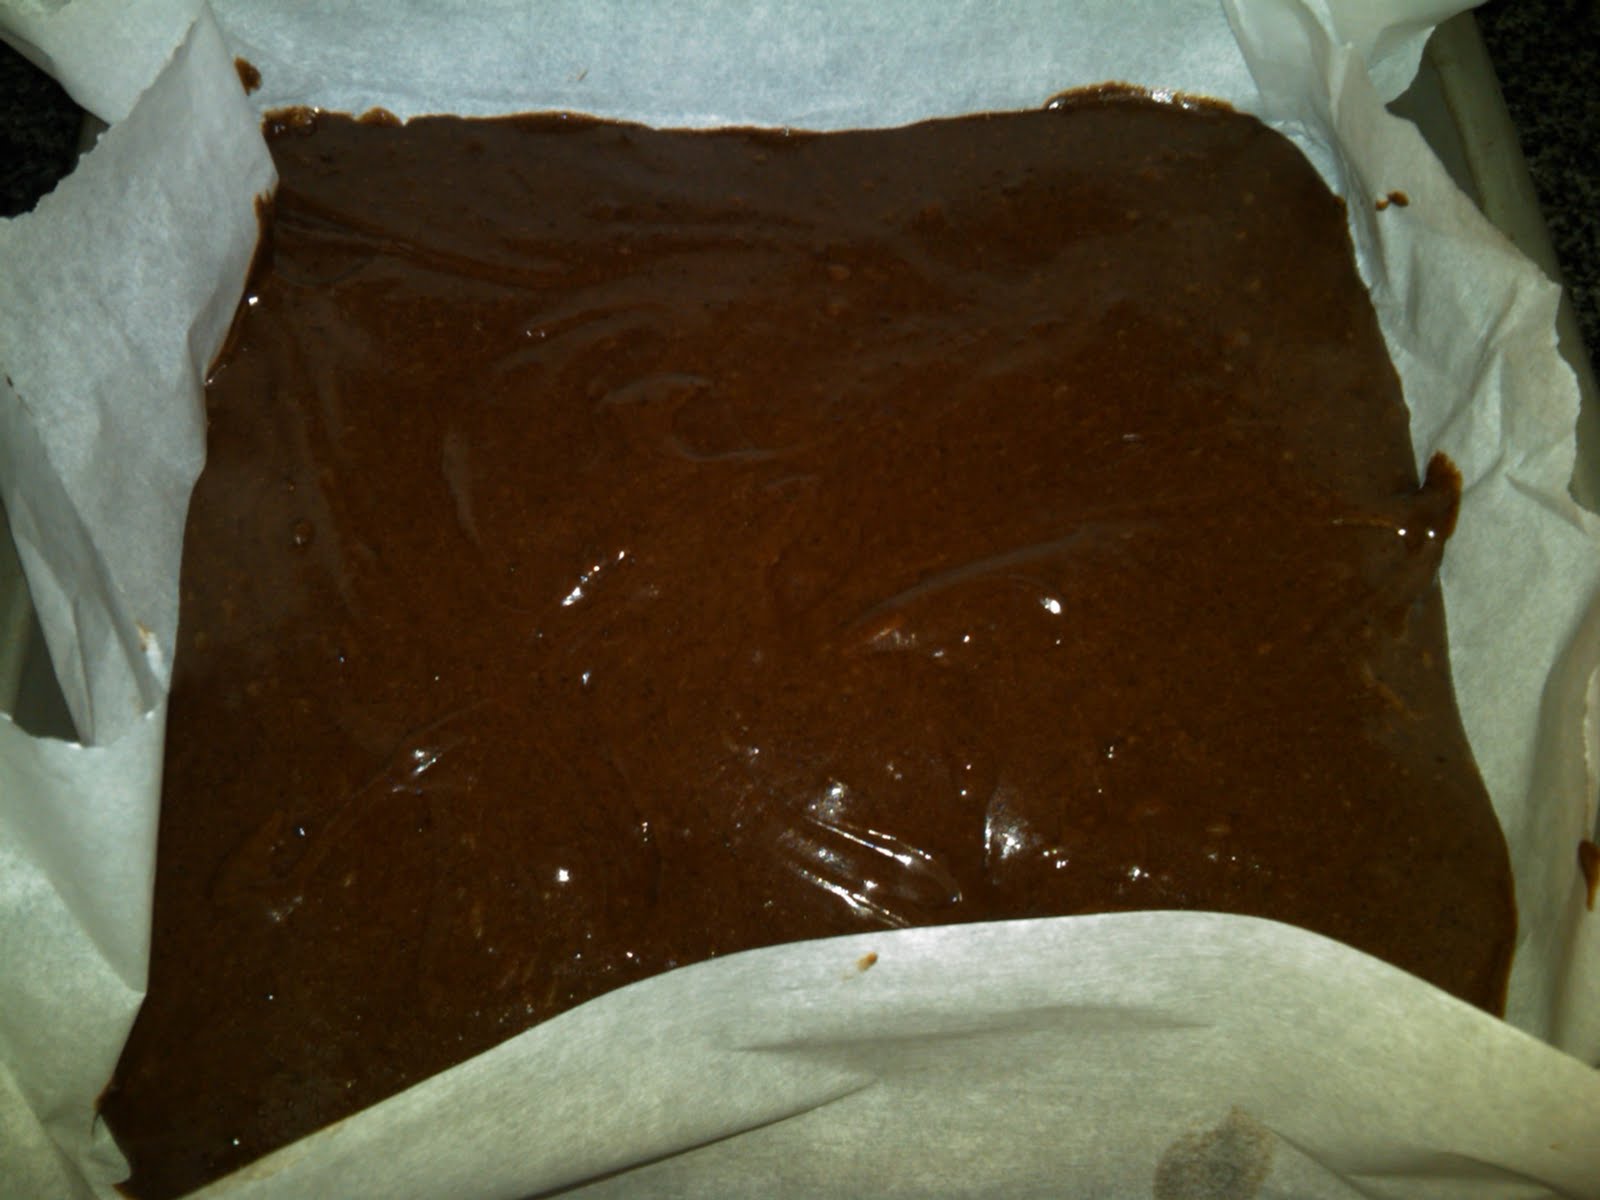

6. Carefully remove the hot pan from the oven and pour in the caramel.
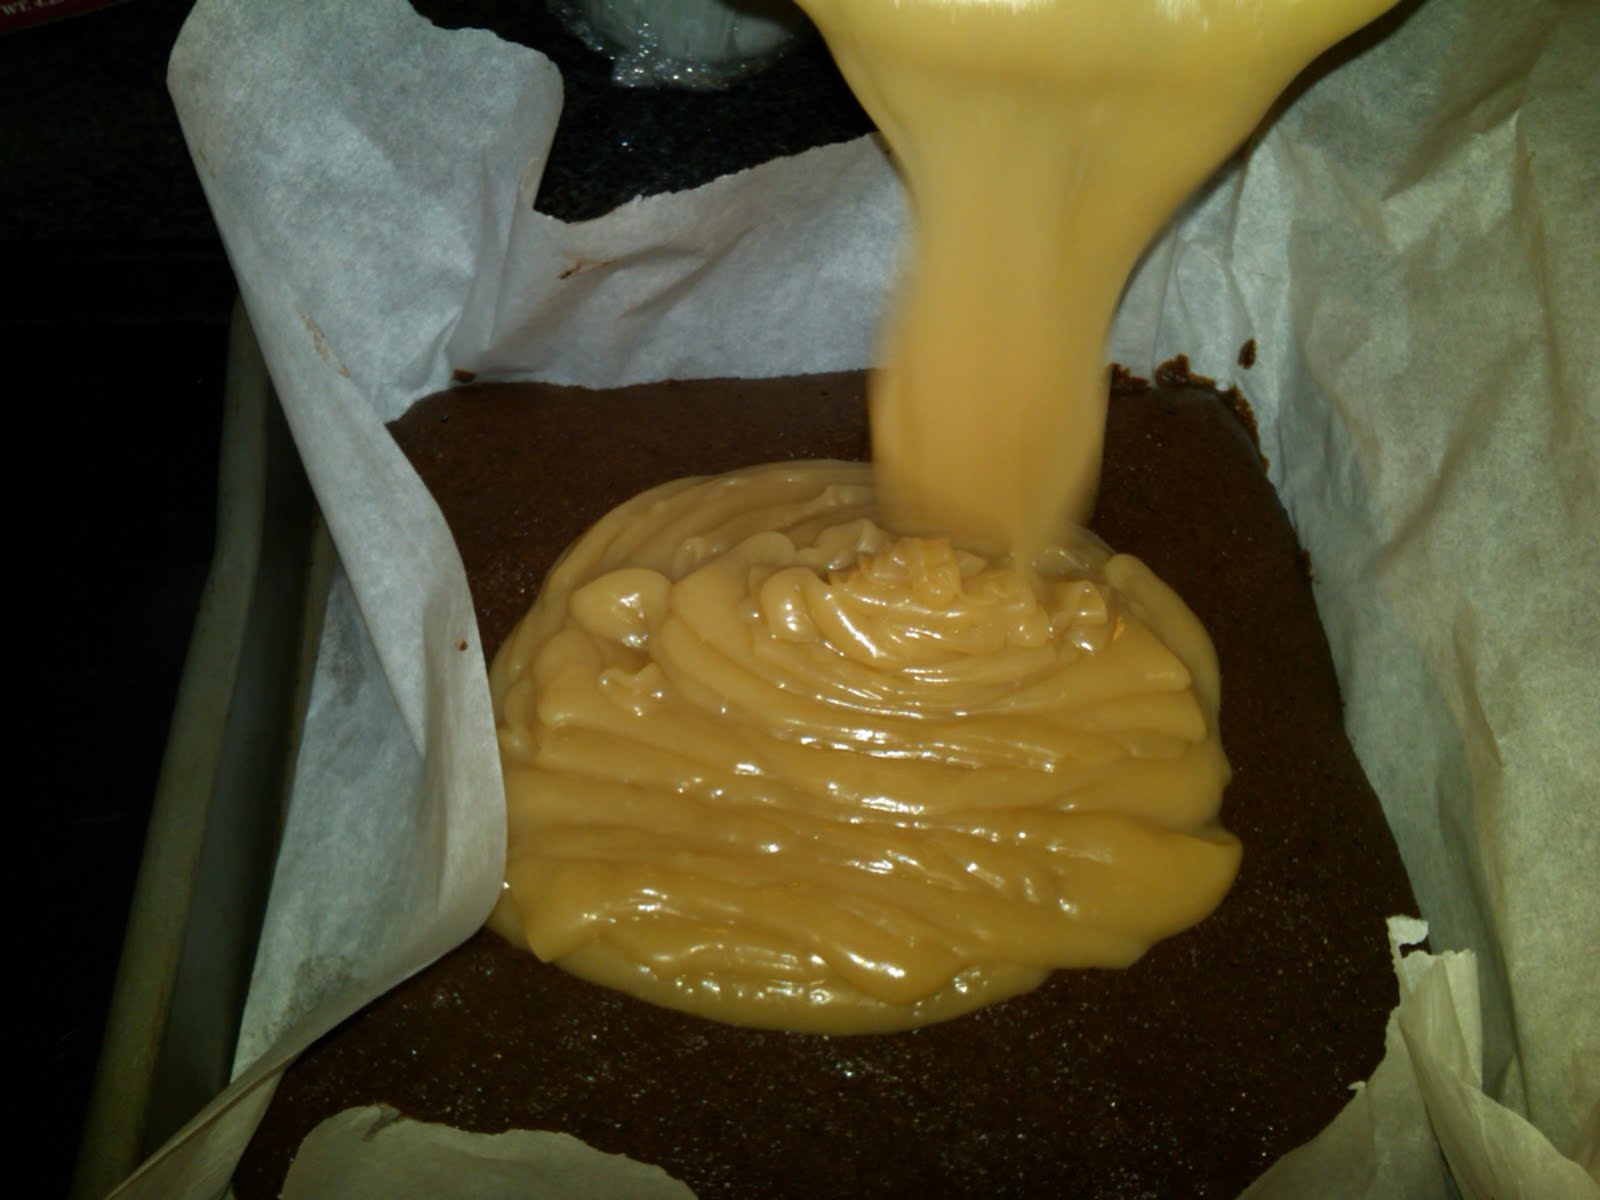

7. Then on top of the caramel, add the rest of the brownie batter. Smooth the top and return to oven and bake for another 18-22 minutes.


Don't overbake, even if it appears a little jiggly it is fine, it will firm up after cooling completely. Also, this is a very fudgy, moist brownie recipe so it should not be completely firm when you take it out of the oven. Let cool completely before cutting.


They will be sticky, rich, and delicious!


If you like a less rich recipe try - Dark Chocolate Espresso Brownies- equally yummy but more cake-like, less gooey, and more bittersweet - perfect for coffee-lovers and those who don't like too sweet brownies.

Monday, July 19, 2010

Brownie Week Recipe #1: DARK CHOCOLATE ESPRESSO BROWNIES

Intense flavors of dark chocolate and espresso wrapped into a rich, semi-sweet, cake-like brownie. Perfect for the coffee lover ~ I wrapped up a batch of these in a clear goodie bag and a pretty pink bow for my mom's birthday. They are surprisingly simple to make.

I made this recipe after trying several different recipes and finding that many were too sweet for a dark chocolate lover. I toned down the sugar content, used a more bitter dark chocolate and upped the espresso amount in the recipe. I hope you enjoy it, bon appetit!

Ingredients:

  • 6 ounces dark chocolate, roughly chopped*
  • 1 1/2 sticks (6 ounces) unsalted butter
  • 2 tablespoons unsweetened cocoa powder 
  • 2 tablespoons espresso powder**
  • 2 eggs
  • 1 cup sugar
  • 2 teaspoons pure vanilla extract
  • 1 cup all-purpose flour
  • 1/4 teaspoon salt 
*For the dark chocolate I used Trader Joe's dark chocolate bar (brown wrapping, comes in packs of 3 bars).
**For the espresso powder I use Medaglia D'Oro Instant Espresso Powder

Directions:

  1. Preheat the oven to 350°. Lightly butter a 9-inch square baking pan. (Optional: for easiest removal also line the baking pan with parchment paper leaving the paper hanging over the edges of the pan so you can easily lift out the brownies after baking). Melt the chocolate and butter in a heatproof bowl set over a saucepan with 1 inch of simmering water. Remove from the heat, stir in the cocoa powder and espresso powder and let cool.
  2.  Whisk or sift the flour and the salt together in a medium bowl and set aside.
  3. In a large bowl, beat the eggs at medium speed for 1 minute. Add the sugar and beat until the mixture is pale yellow, about 2 minutes. Fold in the melted chocolate and vanilla. Add the flour-salt mixture, folding just until combined. Spread the batter evenly in the prepared pan.
  4. Bake the brownies for about 40-45 minutes, or until a toothpick inserted in the center comes out clean. Let cool completely before cutting into squares.

Monday, May 17, 2010

Sticky Pecan Buns


These are the most decadent, delicious, moist sticky buns I have ever had. I've tried making sticky buns several times but I usually end up with one problem: the sticky gooey part is delicious, but the rest of the bun is dry, tough and flavorless. I switched around my recipes a bit and now have the perfected the sticky bun ~ tender, moist and lots of cinnamon and butter flavor throughout the bun.

Note: Although there is cinnamon in this bun, this is not a cinnamon bun, it is a sticky bun.


INGREDIENTS:
FOR THE DOUGH: 
  • 2 cups Whole Milk
  • ½ cup Sugar
  • ½ cup Canola Oil
  • 1 package (2 1/4 Teaspoons) Active Dry Yeast
  • 4 cups and ½ cup flour (divided)
  • 2 teaspoons Salt
  • ½ teaspoon Baking Soda
  • ½ teaspoon Baking Powder
FOR THE FILLING:
  • ¾ cup Melted Butter
  • 3/4 cup Packed Brown Sugar
  • 4 Tablespoons Ground Cinnamon
  • You will also need two 9" cake pans or one larger rectangular pan
FOR THE CARAMEL TOPPING:
  • 1 stick unsalted Butter
  • 3/4 cup Packed Brown Sugar
  • 1 Tablespoon Corn Syrup
  • 2 Tablespoons Cream
  • pinch salt
  • 1 cup untoasted pecans, chopped roughly
DIRECTIONS:
To make the Dough:
Combine the flour, baking soda, baking powder, and salt. Set aside.

Heat milk, oil, and 1/2 cup sugar until warm (do not boil.) Allow to cool to lukewarm. Sprinkle in yeast and 4 cups flour. Stir gently and cover with a damp towel, allowing it to rise for 1 hour. After 1 hour, add the remaining 1/2 cup flour mixture. Set aside.


To make the caramel topping:
Add 1 stick butter, 3/4 cup brown sugar, corn syrup and cream. Allow to melt over low heat until combined. Allow to boil for a few seconds, then remove from heat. Set aside.

To make the rolls:
Roll out half the dough into a large rectangle. Pour on half the melted butter, the remaining 3/4 cup sugar, and half the cinnamon. Roll into a long roll, then slice into rolls.

Preheat oven to 375 degrees.

To assemble:
Spray 9-inch cake pan with cooking spray. Pour in half the caramel topping and sprinkle half of the pecan pieces on top. Place the roll slices in the pan on top of the caramel-pecan mixture. (Repeat with the other half of dough). Cover with damp towel and allow to rise for 20 to 30 minutes.


Bake at 375 degrees for 30 to 35 minutes, covered in foil for the first 25 minutes.

Immediately invert on a cake pedestal or serving plate. Serve warm.


Storing: Don't refrigerate, freezing is the best way to store these. Break them into individual pieces, place in an airtight ziploc bag and freeze for up to one month. They still taste amazing after you microwave them.


Monday, April 26, 2010

~ Saffron Rosewater Pistachio Ice Cream ~


My friend brought me saffron from Spain so I decided to make saffron ice cream. Saffron is basically the stigmas of Crocus flowers, dried and then used for baking and cooking (mostly in Spanish [paella] and Persian cuisines). It's flavor is subtle and it's most prized for the golden yellow color it gives to dishes. You only need a pinch (4-5 strands) for this recipe.

Where to Buy Saffron:
I've seen saffron at Trader Joe's, Safeway and specialty food stores. Try to buy it from a store that has high turnover and an expiration date on the package since saffron that has been sitting on the shelf for awhile will fade in color and flavor. I think it's under $10 at Trader Joe's, and about $18 at Safeway for a larger bottle (McCormick brand). Even though it's cheaper at TJ's, my experience with their saffron is that it is weak in flavor and color. You can also buy it online. 

Where to Buy Rosewater:
I buy my rosewater from  Spice House online, only $2.99. I don't know much about whether more expensive ones are better (if anyone can offer insight let me know), but this one is cheap and my ice cream had a nice subtle rose taste.

You will need an Ice Cream Maker: My ice cream maker is a Cuisinart , works great, just make sure you freeze the insert for at least 6 hours before using it or else your ice cream won't freeze properly~ it should be like the consistency of frozen yogurt by the time your ice cream maker is done churning it-at this point you can remove it to a airtight container and freeze until hard. If your ice cream is any softer than the frozen yogurt consistency and you throw it in the freezer, it will turn icy (not good).

Tips on Making Ice Cream: So the most important thing when making an ice cream is to make sure you don't end up with scrambled eggs. The base for almost all ice creams is a custard ~ which is basically eggs, milk and sugar cooked over very low heat until it thickens. It's basic but can easily turn into scrambled eggs if you don't watch the heat. If you do the following three things you will be fine:
1) Stir Constantly
2) Keep the heat Low
3) Don't walk away. Not even to answer the phone.

Enjoy the Recipe! 
~ Saffron Rosewater Pistachio Ice Cream ~

Ingredients:
1 pinch saffron ( 4-5 threads, crumbled gently with your fingers)

2 large egg yolks

1/2 cup sugar

1 tablespoon honey

1 cup whole milk

2 tablespoons rosewater

1/2 cup heavy cream

pinch of kosher salt

1/2 cup shelled, Un-salted pisatchios, unroasted (got mine's from Trader Joe's)

Directions:
Day Before: Place your ice cream maker's tub insert into the freezer - cover with plastic wrap so it doesn't absorb any funky flavors of the freezer. Freeze for at least 6 hours.

1. Prepare the saffron: crumble between fingers until they are shorter pieces (size is not important, just make sure to break it up a little bit, it is nice to see little pieces of saffron in the ice cream).

2. Make the custard: In a large bowl, using a handheld mixer, beat the egg yolks with 1/2 cup of sugar at medium-high speed until fluffy, 3 minutes. In a saucepan, combine the milk with 1 tablespoon honey and saffron. Bring to a simmer then remove from heat. SLOWLY beat the warm milk into the egg yolks at low speed (first beat in spoonful by spoonful then when the egg mixture has warmed up a bit you can slowly beat the rest of the warm milk in). Scrape the warm milk and egg mixture back into the saucepan. Cook over moderate to low heat, stirring constantly with a wooden spoon, until thick enough to coat the back of the spoon, about 5 minutes; DO NOT let the custard boil - or you will end up with scrambled eggs ice cream. Don't walk away, don't stop stirring!

3. Cool: Pour the custard into a bowl set in a larger bowl of ice water and whisk in the rosewater, salt and heavy cream. Let stand until chilled, 30 minutes. After it is cooled, transfer to refrigerator, cover with plastic wrap touching surface of custard so it doesn’t form a skin while chilling, and chill completely - a couple hours.

3. Freeze: Pour the chilled custard and the pistachios into an ice cream maker and freeze according to the manufacturer’s instructions (Cuisinart requires 25-30 minutes). Transfer the ice cream to an airtight container and freeze until firm. I actually like to eat it fresh out of the ice cream maker when it's soft and creamy like frozen yogurt.

Friday, April 16, 2010

Orange Blossom and Madagascar Vanilla Bean Ice Cream


Orange blossom water is made of fragrant petals of orange blossoms, and has citrus and jasmine notes. It has been used in Middle Eastern and French cooking for centuries. I decided to use orange blossom water in my ice cream after tasting the yummy Orange Blossom Beignets (french donuts) at Piperade, a cute basque restaurant in San Francisco. Be careful ~ orange blossom water should be used sparingly or else it will taste like you are eating perfume!

The other key ingredient in this ice cream is whole Madagascar vanilla bean. Whole vanilla beans make a huge difference ~ pretty black flecks of vanilla and a natural, subtle taste of vanilla. You can also use Tahitian or any other kind of vanilla bean. If you don't have vanilla beans you can always use vanilla extract. 

You need an ice cream maker of course to make this ~ I love my ice cream maker! After you make your own ice cream you will never want to eat store-bought ice cream again, it tastes a million times better homemade. I got lucky and found my Cuisinart ice cream maker open-box at at TJ Maxx  for about $40, a little scratched up but works great. Unfortunately this isn't something they carry all the time, but you can still find it online Cuisinart Ice Cream Maker - 2 Qt.

As for finding orange blossom water and the vanilla beans: I like the Nielsen-Massey Orange Blossom Water - 2 oz , it's only about $8.  You can find vanilla beans at your local grocery store and I have also seen it at Trader Joe's for a reasonable price if you live near one. I buy my vanilla beans from The Spice House online for about $2 each.

INGREDIENTS:

* 4 large egg yolks

* 3/4 cup plus 1 tablespoons sugar

* 1 tablespoon honey

* 2 cups whole milk

* 1/2 madagascar vanilla bean- slice open the pod and scrape out the grainy black paste inside (use
this part for the ice cream), discard the pod casing. (If you don't have vanilla beans you can substitute 2 teaspoons pure vanilla extract)

* 1/2 cup heavy cream

* 3 teaspoons orange blossom water

* 1/2 teaspoon fresh Meyer lemon juice or regular lemon juice

* Zest of 1 orange

* Pinch of salt


DIRECTIONS:

1. Make the custard: In a large bowl, using a handheld mixer, beat the egg yolks with 3/4 cup of the sugar at medium-high speed until fluffy, 3 minutes.

2. In a saucepan, combine the milk with the remaining 1 tablespoon of sugar 1 tablespoon honey, and vanilla bean paste. Bring to a simmer.

3. Remove saucepan from heat and SLOWLY (first only add spoonfuls) beat the warm milk into the egg yolks at low speed, making a custard. The reason you have to do this slowly is because you don't want the hot milk to cook the eggs. Scrape the custard back into the saucepan. Cook over moderate heat, stirring constantly with a wooden spoon, until thick enough to coat the back of the spoon, about 5 minutes; don’t let the custard boil or it will turn into scrambled eggs!

4. Pour the custard into a bowl set in a larger bowl of ice water and whisk in the heavy cream, orange blossom water, lemon juice and salt. Let stand until chilled, stirring occasionally, 30 minutes. (Can transfer to refrigerator if it’s not getting cold, just cover with plastic wrap touching surface of custard so it doesn’t form a skin while chilling).

5. Pour the custard and lemon zest into an ice cream maker and freeze according to the manufacturer’s instructions (Cuisinart requires 25-30 minutes). Transfer the ice cream to an airtight container and freeze until firm, at least 2 hours.

Thursday, April 15, 2010

Seared Scallops with Caviar Sauce, Crispy Potato Pancakes


I couldn't resist trying this recipe after seeing it in Food & Wine mag, my friend Manj and I were literally drooling at the picture. You just can't go wrong with scallops, champagne (in the sauce) and caviar.


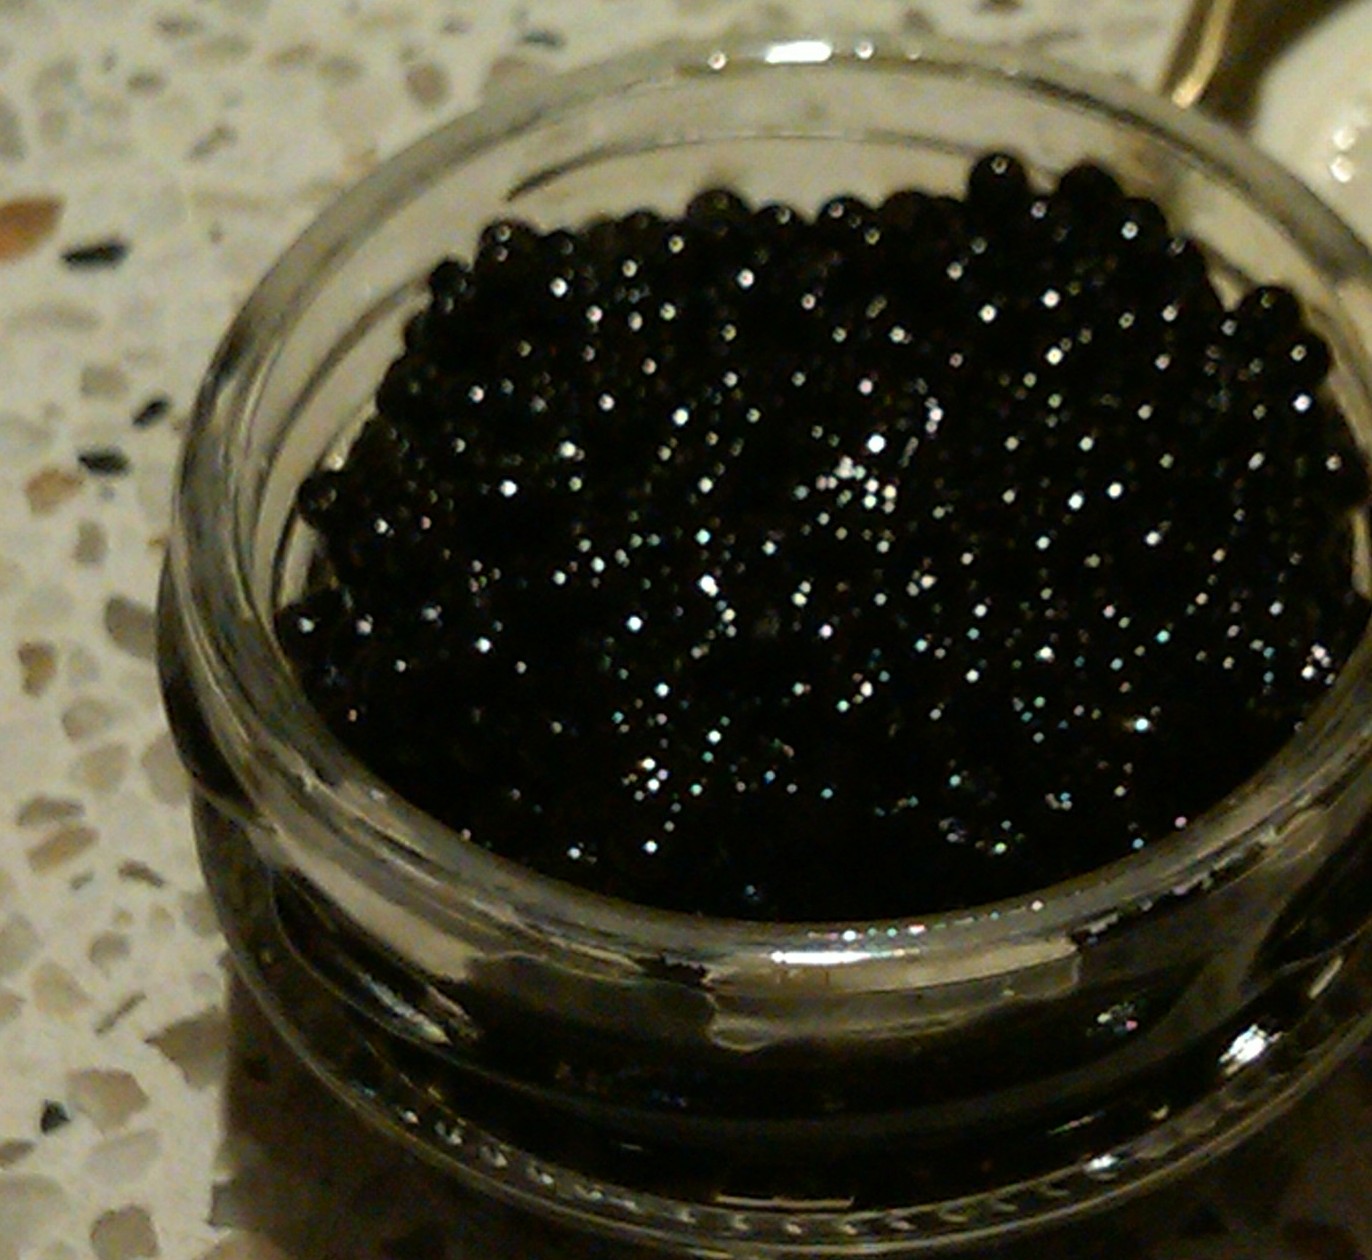
Tsar Nicoulai caviar


This dish isn't very complex but cooking it the right way ~ getting a good sear on the scallops, reducing the base for the sauce, frying the cakes in the right temperature oil ~ is the difference between a good vs. an out of this world dish that will have your guests licking the sauce off their plates (they did!). Here is the Food & Wine recipe ~If you do the following 3 things correctly you should be all set:

1. Getting a good sear on the scallop: My foolproof way for getting a good golden brown seared scallop with a tender and slightly underdone inside requires:
  • Room temperature scallops: super crucial because if your scallop is cold when you put it in the pan it will bring down the temperature of the oil and a HOT pan is necessary for getting a nice crispy golden sear.
  • Super dry scallops: pat dry the scallops very well with paper towels. If the scallops are wet they will end up steaming in the pan - you want as little water as possible between the scallops and the hot oil.
  • Smokin' hot oil: heat the oil just until it starts smoking a little ~ this is when you know the oil is hot enough. You can turn down the temperature a little after the first 30 seconds of cooking if it gets too smokey for you. Have your vent on high and friend ready to shoo smoke away from the fire alarm when it goes off.
  • No crowding the pan: Don't stuff all the scallops into a small pan or else they will end up steaming and the temperature of the oil will go down quickly, resulting in no sear!

2. Taking time to make a good base for the sauce: I couldn't believe how much work and ingredients went into the base of the sauce and you end up with only 1 tablespoon of it after reducing it for 15 minutes! But trust me it's worth the time and care because that 1 tablespoon has a concentrated flavor that makes the caviar sauce unbelievably good. Follow the recipe directions and WATCH THE SAUCE because you don't want to turn around after all that work and find that it has evaporated to nothing.

This will all reduce to 1 tablespoon


3. Frying crispy and not soggy/oily potato pancakes: This was my first time making potato pancakes and the first few were either too dark outside/undercooked inside (oil too hot) or too soggy (oil not hot enough). I don't use a thermometer and would suggest just taking a small ball of the potato pancake mix and testing out the oil- it should bubble and fizz when you put the pancake in and should turn golden brown within a couple minutes ~ it will really be trial and error for the first few pancakes until you find the perfect temperature. Don't crowd the pan here either because it will make the oil temperature go down quickly.

Bon appetit!

Homemade Meyer Lemon Curd


Lemon curd is a British favorite traditionally spread on scones, muffins and other teatime treats. I like to serve this sweet, tart and creamy condiment with lemon ricotta pancakes instead of the usual maple syrup.

It's fairly simple to make and does not involve many ingredients ~ just lemons, sugar, butter, eggs and salt. The most important thing is to make sure that you don't cook the eggs and end up with a curdled lumpy mixture. A smooth lemon curd can be achieved by keeping the heat low and stirring very frequently (or constantly). If you follow these simple directions you will have a beautiful velvety smooth lemon curd in just 10 minutes!

INGREDIENTS
  • 3 Meyer lemons*
  • 1 1/2 cups sugar
  • 1/4 pound (1 stick) unsalted butter, room temperature
  • 4 extra-large eggs
  • 1/2 cup lemon juice (3 to 4 lemons)
  • pinch kosher salt
DIRECTIONS:

1. Using the fine side of a vegetable grater, zest 3 lemons into a small bowl, avoiding the bitter white pith. Mix the sugar into the lemon zest, mashing together until well combined.

2. Cream the butter and beat in the sugar and lemon mixture. Add the eggs, 1 at a time, and then add the lemon juice and salt. Mix until combined.

3. Pour the mixture into a 2 quart saucepan and cook over low heat until thickened (about 10 minutes), stirring constantly. The lemon curd will thicken at about 170 degrees F, or just below simmer. Remove from the heat and cool completely, then refrigerate.


* Of course if you don't have Meyer lemons you can use regular lemons.